

Ingredients:
1. Paint chips of your choice. An ombre effect is always nice or choose colors that match the room your going to place it in.
2. Any simple glue. I used a glue stick which worked well because I was able to rearrange the colors while they were sticky. I also wanted the paint chips to stand out for a little dimension.
3. A printer with white paper.
4. A picture frame. You can work with something new or old, small or big.
Recipe:
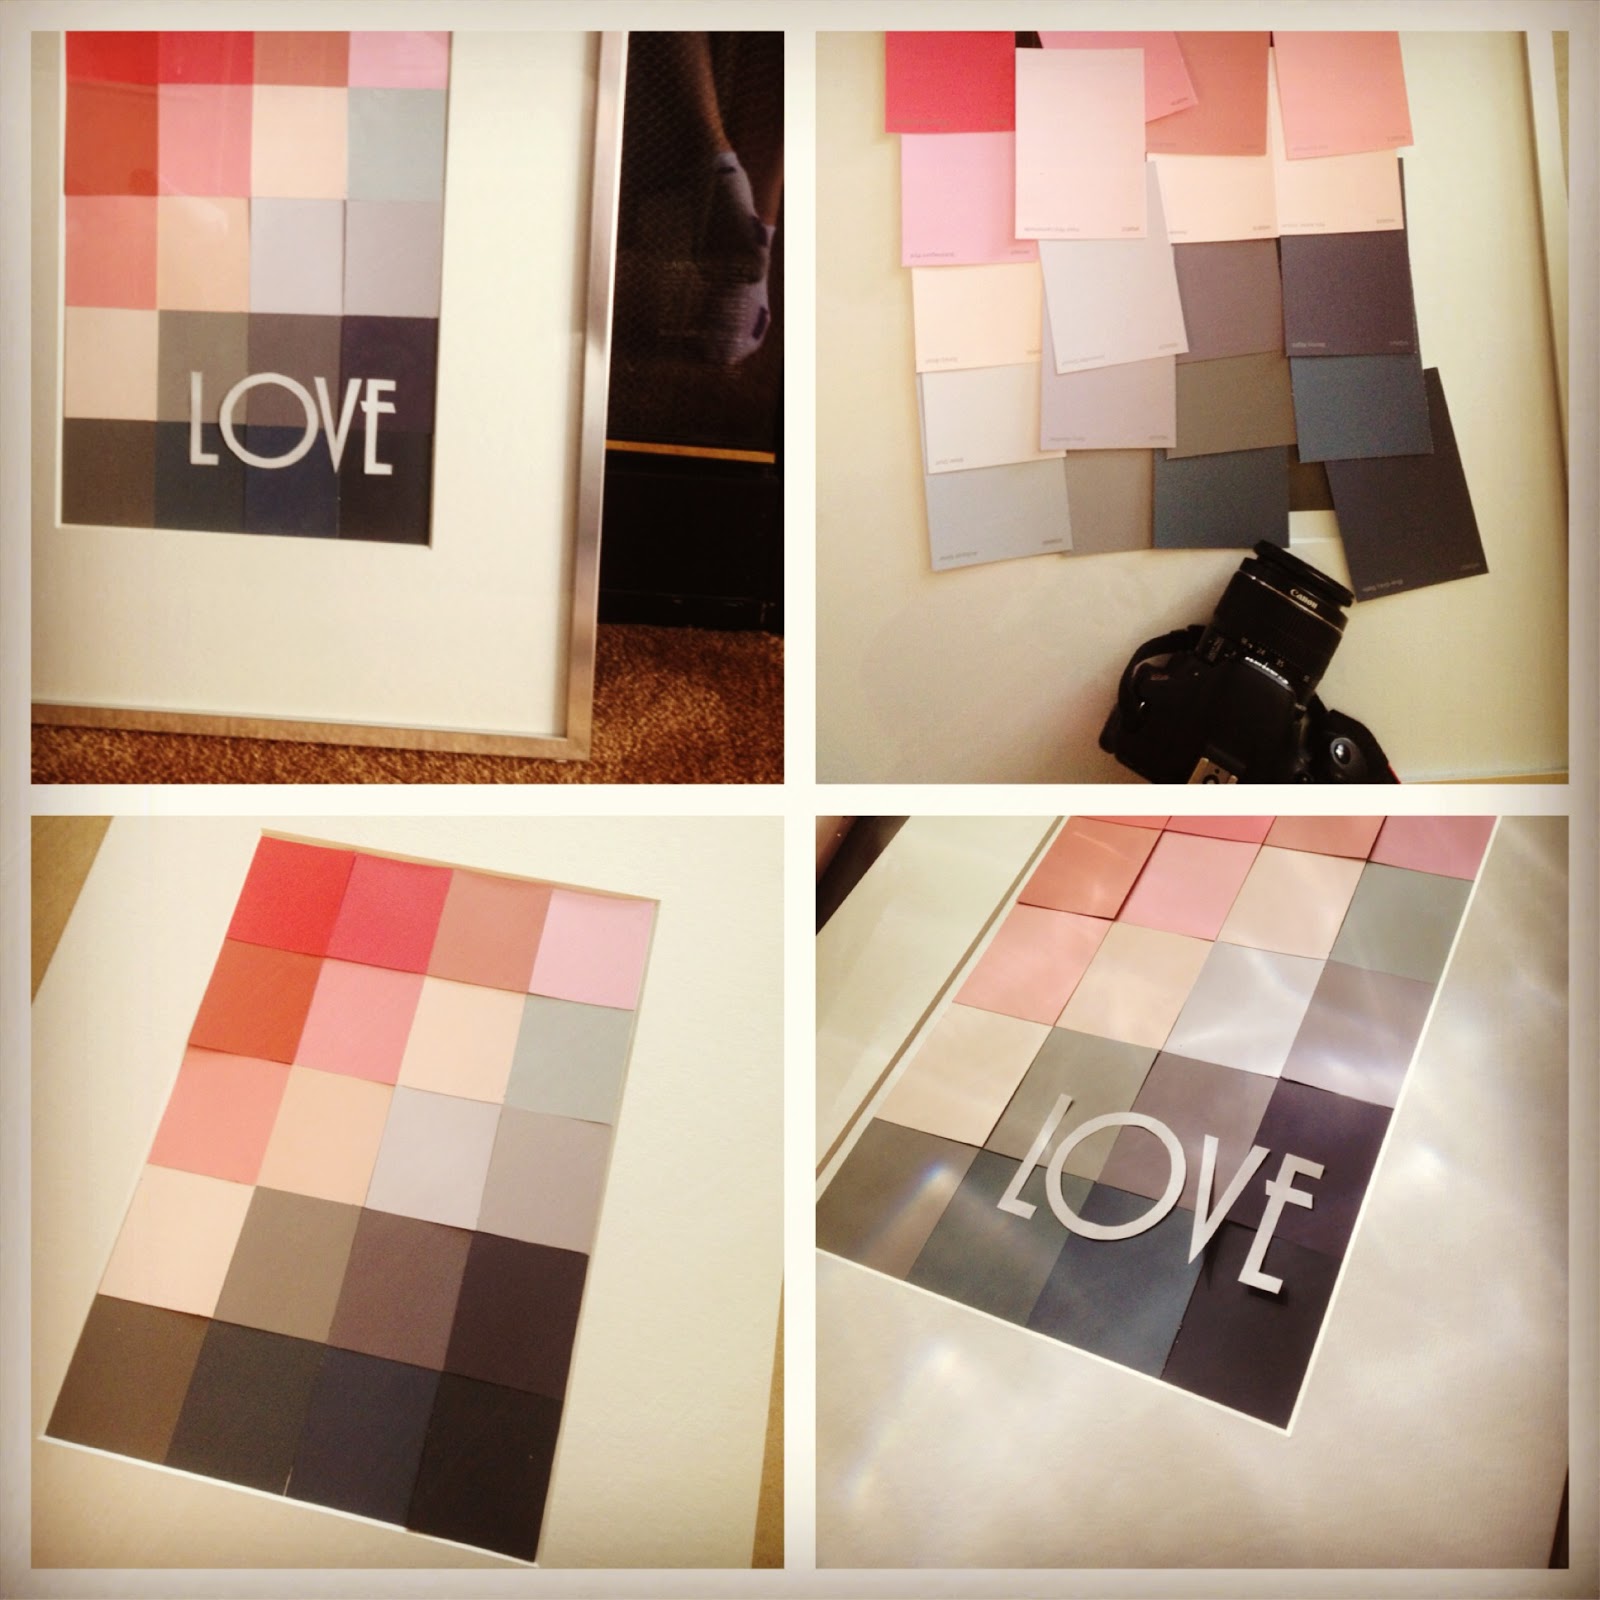
1. Experiment with your color layout.

2. Take photos of your layouts so you can choose which one makes the cut.
3. Start on the bottom right and work your way up by adding glue to each corner of each paint chip. Line the first one up and then use it as your guide to lining up the rest. When you add the second layer, overlap the previous row so the names of each color are covered up. This process will make it cleaner and easier than cutting them one by one.
4. Think of a word, name or phrase and cut out the letters. I printed the words on plain white paper and used a font size of 300. I also chose a periwinkle shade to get the white look and still have lines to follow while I cut the letters. I'd recommend printing the letters on thicker paper to have a similar thickness to the paint chips.

5. Once your done, it's time to frame. Make sure everything is clean before you close the back.
6. Remember to have fun. ENJOY!
My instagram shot.
P.S
Thanks to all the creative DIY'ers out there for inspiring this art.
instant color gratification! thanks for sharing this
ReplyDeleteYour welcome Crissy!
DeleteI really love this Kim!
ReplyDeleteMe too! Thanks!
Delete